Register a Log Trigger Upkeep
Create powerful smart contracts that use log data as both trigger and input. This guide explains how to create log-trigger upkeeps.
Understanding maximum logs processed
Chainlink Automation processes a limited number of logs per block per upkeep. See the Concepts page to learn about how logs are processed and how many logs you can expect to be processed per block on the chain you're using.
Emit a log
- Open
CountEmitLog.solin Remix. This contract contains an eventWantsToCountthat keeps track of the address of the message sender. The functionemitCountLogemits this event.
// SPDX-License-Identifier: MIT
pragma solidity 0.8.19;

contract CountEmitLog {
    event WantsToCount(address indexed msgSender);

    constructor() {}

    function emitCountLog() public {
        emit WantsToCount(msg.sender);
    }
}
- Under Environment, select the option Injected Provider to connect to your cryptocurrency wallet.
- Deploy the contract and confirm the transaction.
- You can view the contract on Etherscan by clicking the message in the terminal. You an view the address of the created contract and the original contract in Etherscan.

- Navigate to the Contract tab. If the contract is already verified, you will see options to Read Contract and Write Contract. If your contract isn't verified, follow the prompts in Etherscan to verify the contract.
- Click Write Contract and click the emitCountLog button to emit a log.
- Navigate back to Etherscan and locate the Events tab. You should see the event of emitting a log recorded in this section.

Using ILogAutomation Interface
- Open
CountWithLog.solin Remix. This contract contains a struct to account for the log structure and uses the ILogAutomation interface for log automation. The interface contains thecheckLogandperformUpkeepfunctions. The contract contains an eventCountedBy. Thecountedvariable will be incremented whenperformUpkeepis called.
// SPDX-License-Identifier: MIT
pragma solidity 0.8.19;

struct Log {
    uint256 index; // Index of the log in the block
    uint256 timestamp; // Timestamp of the block containing the log
    bytes32 txHash; // Hash of the transaction containing the log
    uint256 blockNumber; // Number of the block containing the log
    bytes32 blockHash; // Hash of the block containing the log
    address source; // Address of the contract that emitted the log
    bytes32[] topics; // Indexed topics of the log
    bytes data; // Data of the log
}

interface ILogAutomation {
    function checkLog(
        Log calldata log,
        bytes memory checkData
    ) external returns (bool upkeepNeeded, bytes memory performData);

    function performUpkeep(bytes calldata performData) external;
}

contract CountWithLog is ILogAutomation {
    event CountedBy(address indexed msgSender);

    uint256 public counted = 0;

    constructor() {}

    function checkLog(
        Log calldata log,
        bytes memory
    ) external pure returns (bool upkeepNeeded, bytes memory performData) {
        upkeepNeeded = true;
        address logSender = bytes32ToAddress(log.topics[1]);
        performData = abi.encode(logSender);
    }

    function performUpkeep(bytes calldata performData) external override {
        counted += 1;
        address logSender = abi.decode(performData, (address));
        emit CountedBy(logSender);
    }

    function bytes32ToAddress(bytes32 _address) public pure returns (address) {
        return address(uint160(uint256(_address)));
    }
}
- Deploy the contract and confirm your transaction.
- Under Deployed Contracts, expand
CountWithLog. Click the count button to view the value of the count variable. It should be 0.
- Copy the address of this contract either via Remix or Etherscan to register it on the Chainlink Automation app.
Using the Chainlink Automation App
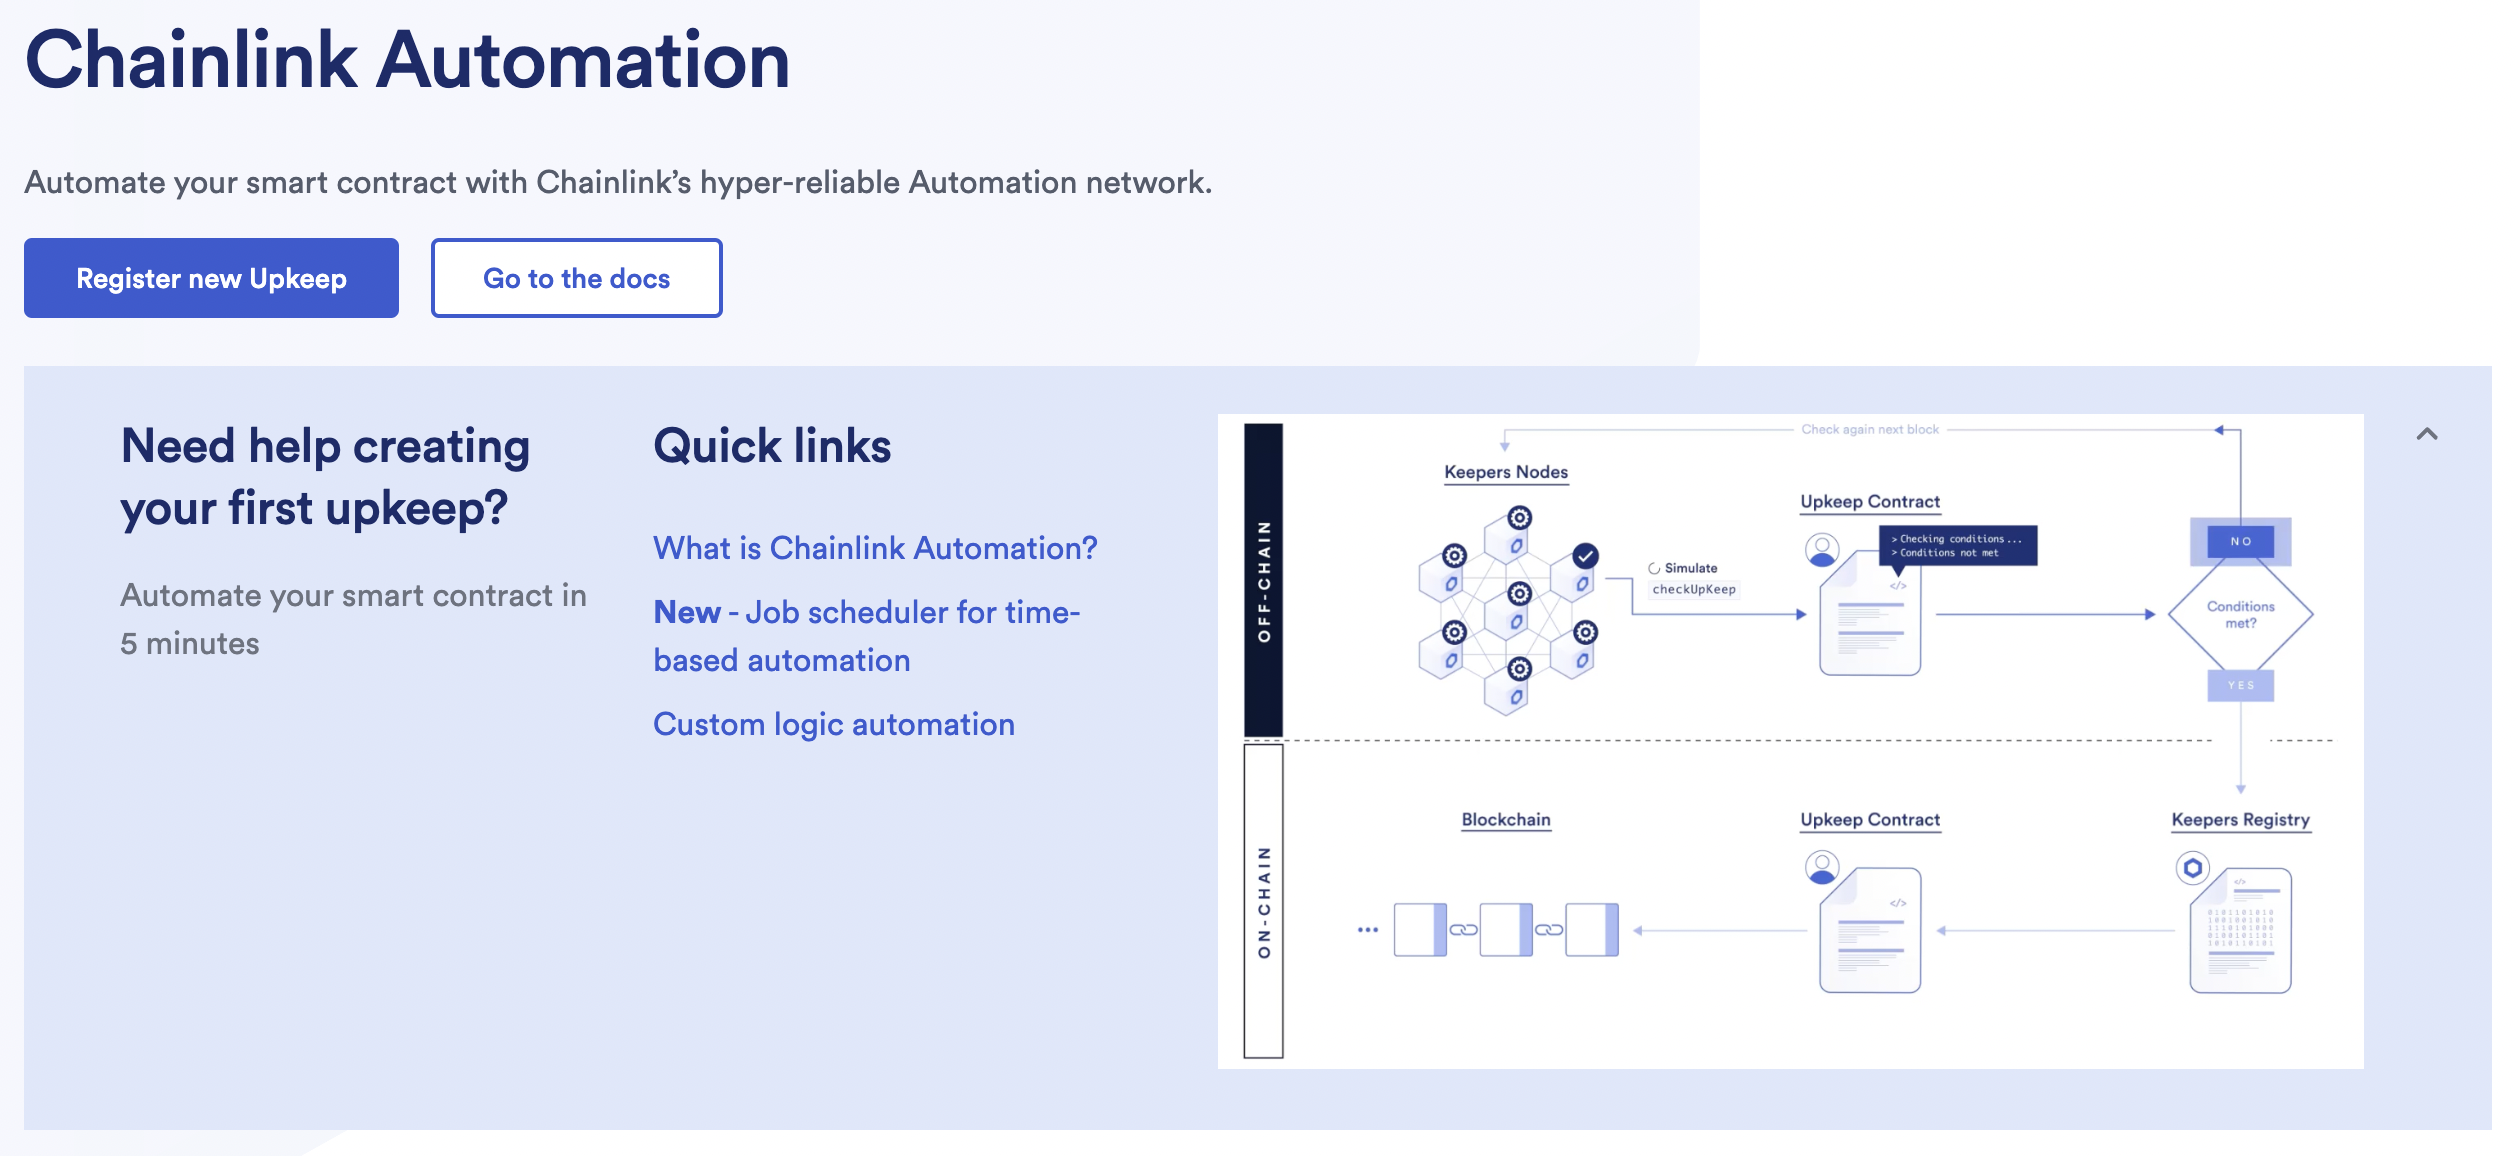
Click the Register New Upkeep button.
Connecting your wallet
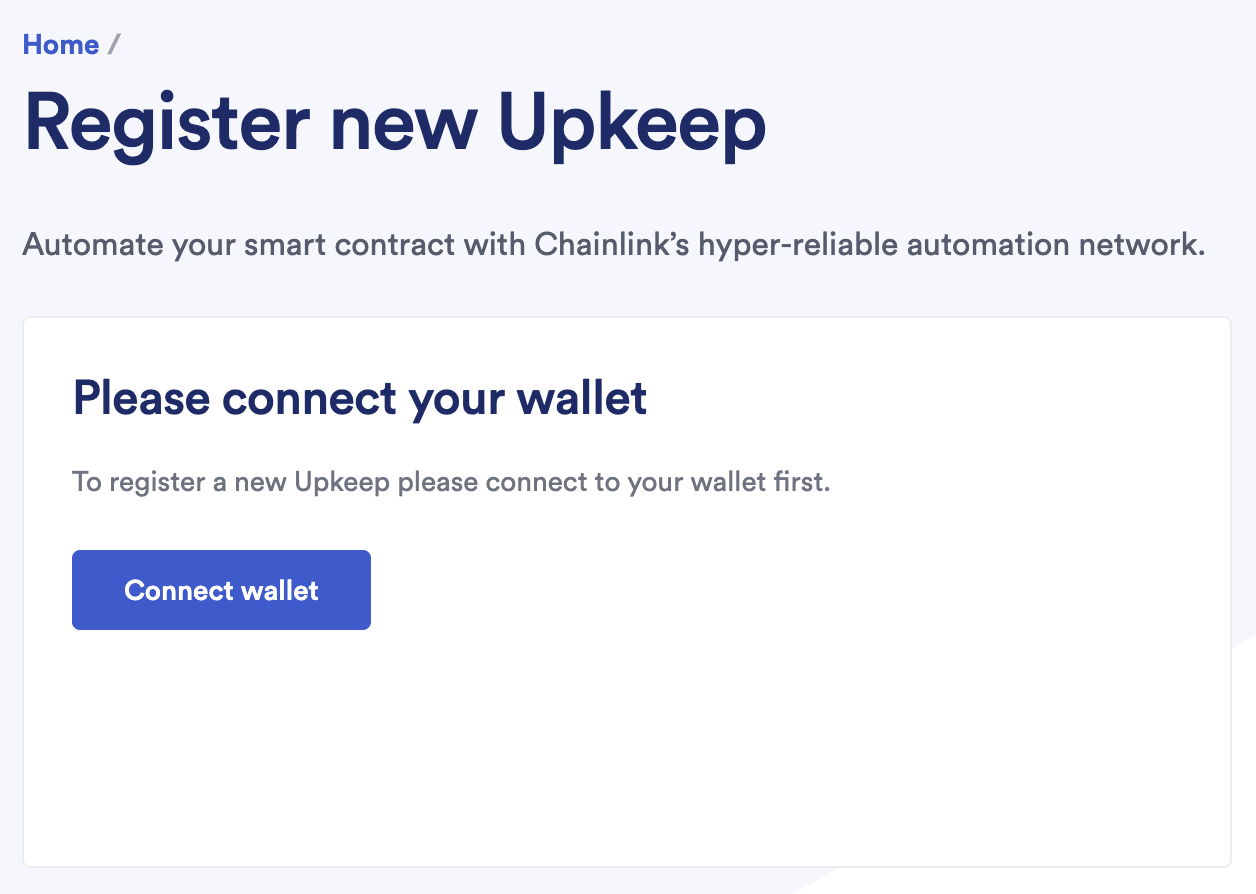
If you do not already have a wallet connected with the Chainlink Automation network, the interface will prompt you to do so. Click the Connect Wallet button and follow the remaining prompts to connect your wallet to one of the Automation supported blockchain networks.
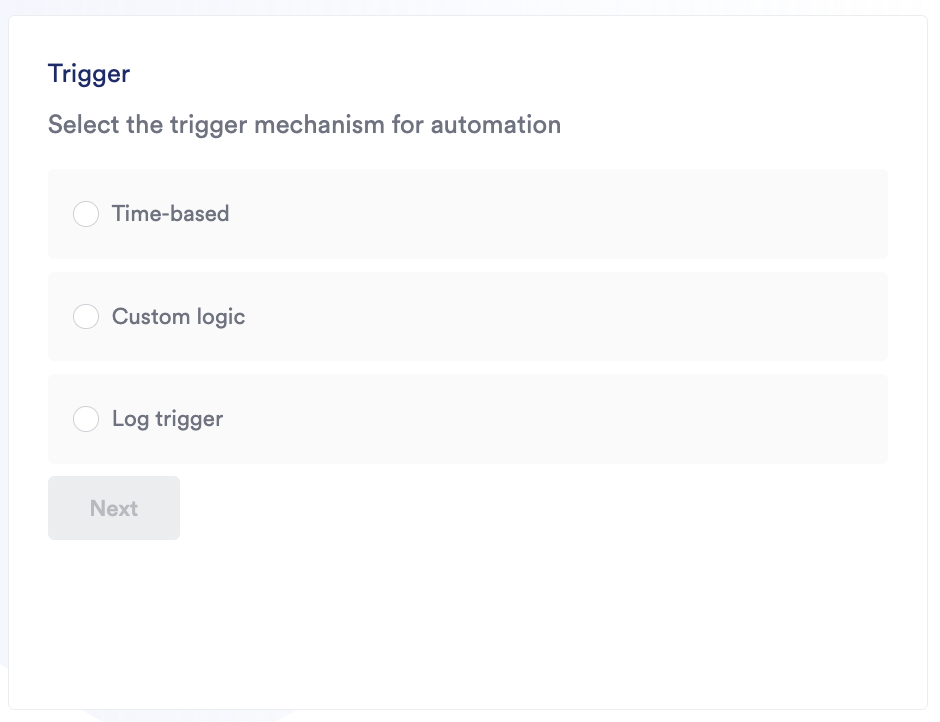
Trigger selection
Select Log Trigger.
Using log triggers
-
Provide the address of your Automation-compatible contract that you want to automate. In this case, we will paste the address of
CountWithLog.sol. This contract must follow the format of the ILogAutomation interface to ensure Automation nodes can interact with your contract as expected.
-
Provide the address of the contract that will be emitting the log. In this case, this is the address of
CountEmitLog.sol. If the contract is not validated you will need to provide the ABI.
To find the ABI of your contract in Remix, navigate to the Compiler view using the left side icons. Then, copy the ABI to your clipboard using the button at the bottom of the panel.

-
Use the dropdown to select the triggering event. This is WantsToCount. You can also provide one optional filter per any of the indexed events in the log, but you don't have to. When this combination of filters are matched the upkeep will trigger.

Entering upkeep details
Provide the following information in the Automation app:
-
Upkeep name: This will be visible in the Chainlink Automation app.
-
Gas limit: This is the maximum amount of gas that your transaction requires to execute on chain. This limit cannot exceed the
performGasLimitvalue configured on the registry. -
Starting balance (LINK): Specify a LINK starting balance to fund your upkeep. See the LINK Token Contracts page to find the correct contract address and access faucets for testnet LINK. This field is required. You must have LINK before you can use the Chainlink Automation service.
-
Check data: Optional input field that you may use depending on whether you are using it in your contract.
-
Your email address (optional): This email address will be used to send you an email notification when your upkeep is underfunded.
Complete upkeep registration
Click Register upkeep and confirm the transaction in MetaMask.
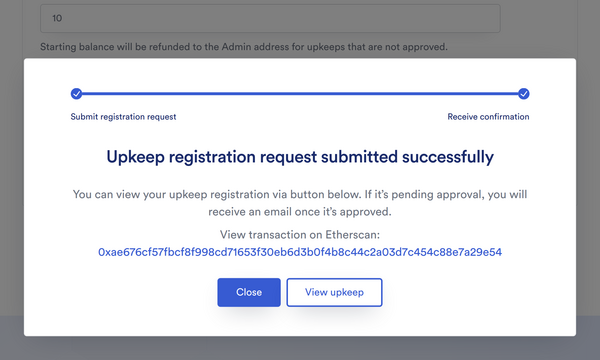
Your upkeeps will be displayed in your list of Active Upkeeps. You must monitor the balance of your upkeep. If the balance drops below the minimum balance, the Chainlink Automation Network will not perform the Upkeep. See Managing Upkeeps to learn how to manage your upkeeps.
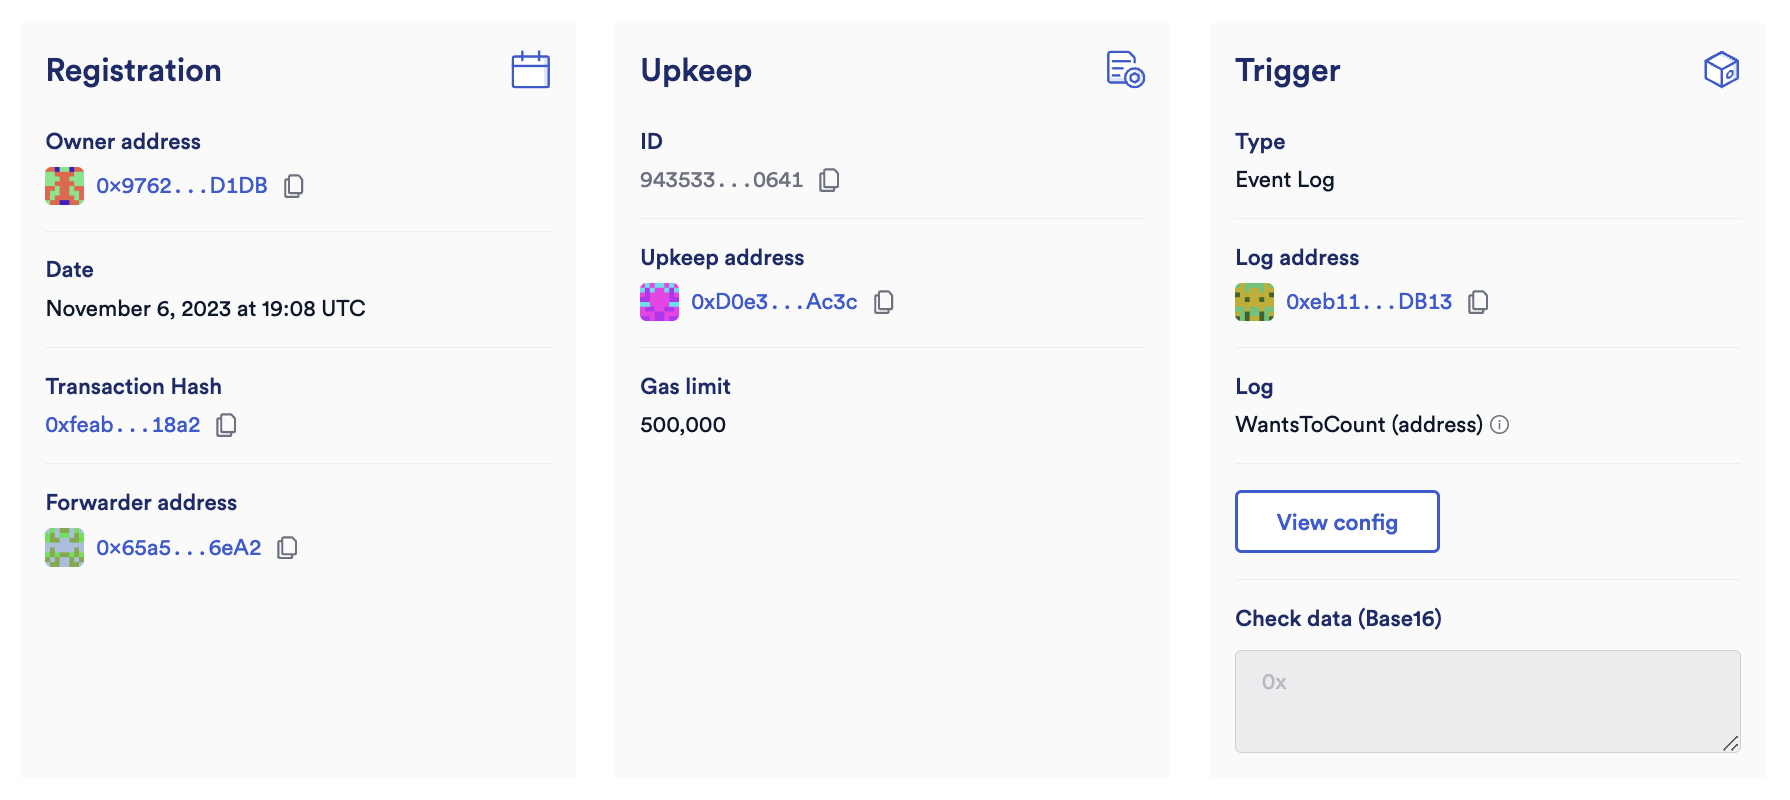
Performing upkeep
Navigate back to the Etherscan page for CountEmitLog.sol. Under Write Contract, click the button to emitCountLog. Refresh the upkeep details page. You may have to wait a few moments. Under History, you should see the upkeep has been performed.